Welcome to the Rubik’s Cube 2×2 Solution Guide! This comprehensive guide is designed to help you master the 2×2 cube, regardless of your skill level. Whether you’re a beginner or an experienced solver, this guide provides a clear, step-by-step approach to solving the cube efficiently. Learn essential algorithms, understand the cube’s mechanics, and discover advanced techniques to improve your solving speed and accuracy. Perfect for those looking to improve their cubing skills or teach others, this guide is your ultimate resource for becoming a 2×2 Rubik’s Cube expert!
Understanding the Basics of the 2×2 Rubik’s Cube
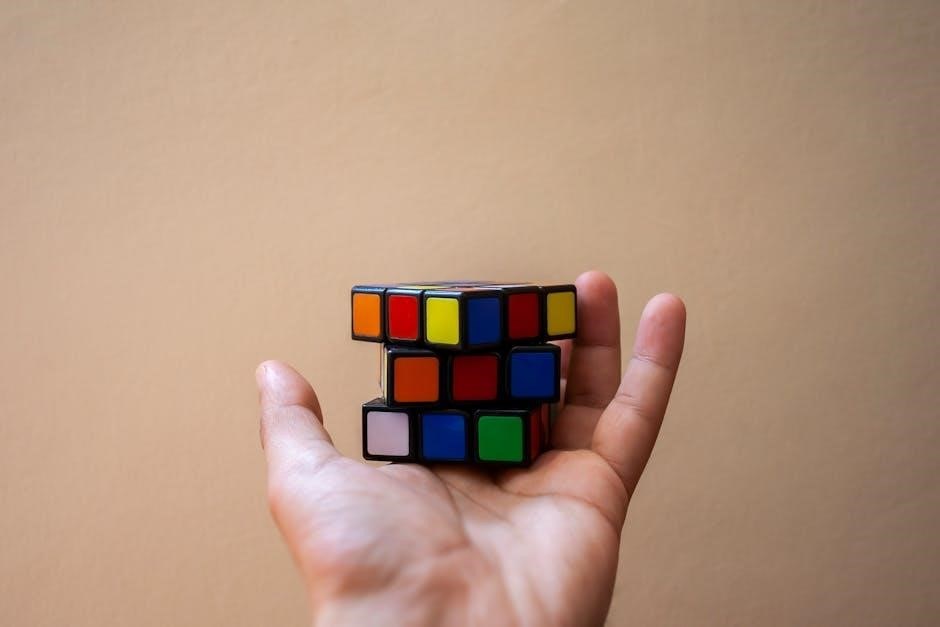
The 2×2 Rubik’s Cube, also known as the “Pocket Cube,” consists of 8 corner pieces and 6 face centers. Unlike the 3×3 cube, it has no edge or center pieces, making it simpler but still challenging. Each face has four stickers, and the goal is to align them so each face shows a single color. The cube has six faces, each with a permanent opposite face, which is crucial for solving. Beginners should start by understanding how to manipulate the cube using basic moves like turning individual faces clockwise or counterclockwise. Mastering these fundamentals is essential before progressing to more advanced techniques. The cube’s mechanics allow for quick solving once the basics are grasped.
The Importance of Opposite Faces in Solving
Understanding opposite faces is crucial for solving the 2×2 Rubik’s Cube. Each face has a permanent opposite, which remains fixed throughout the solving process. This relationship helps maintain the cube’s structure and ensures pieces align correctly. By identifying opposite faces, you can avoid misorienting pieces and simplify the solving process. For example, if you solve the white face, its opposite (often yellow) should remain intact. This concept is vital for both beginners and advanced solvers, as it aids in maintaining orientation and efficiency. Mastering the use of opposite faces will enhance your ability to execute algorithms effectively and solve the cube more systematically. This fundamental principle is key to successful solving strategies.
Why a 2×2 Cube is a Great Starting Point for Beginners
The 2×2 Rubik’s Cube is an excellent starting point for beginners due to its simplicity and fewer pieces compared to larger cubes. With only two layers and four corners per layer, it is less overwhelming, allowing new solvers to focus on basic strategies and algorithms. The absence of edge pieces simplifies the solving process, making it easier to understand fundamental concepts like orientation and permutation. This smaller cube also reduces frustration, enabling beginners to build confidence and develop problem-solving skills. Additionally, the shorter solving time motivates learners to progress. Once mastered, the techniques learned can be applied to more complex cubes, making the 2×2 a perfect introduction to the world of speedcubing. It’s both fun and challenging, ensuring an engaging experience for novices.

Understanding the Structure and Mechanics
The 2×2 Rubik’s Cube consists of six faces with permanent opposite sides. Unlike the 3×3, it has no fixed center pieces, making it simpler. Each face has four stickers, and the cube’s mechanics allow for turning entire layers. The absence of edge pieces simplifies the solving process. Understanding how the pieces move and interact is crucial for mastering the cube. This smaller structure introduces basic concepts like orientation and permutation, providing a solid foundation for learning advanced techniques later.
Notation and Basic Moves for the 2×2 Cube
Understanding the notation for the 2×2 Rubik’s Cube is essential for mastering its solution. The basic moves include turning the entire face clockwise or counterclockwise. The notation uses letters like R (right), L (left), U (up), D (down), F (front), and B (back). A prime (‘) indicates a counterclockwise turn, while the absence of a prime denotes a clockwise turn. For example, R means turning the right face clockwise, and R’ means turning it counterclockwise. Additionally, U and D moves affect the top and bottom layers, respectively. These moves form the foundation for solving the cube and are used in various algorithms to orient and permute the pieces. Mastering these basic moves is crucial for progressing to more complex solving techniques.
Differences Between 2×2 and 3×3 Rubik’s Cubes
The 2×2 and 3×3 Rubik’s Cubes differ significantly in structure and solving approach. The 2×2 cube has fewer pieces and no fixed centers, simplifying orientation. It focuses on corner orientation and permutation without edge pieces, making it more straightforward for beginners. In contrast, the 3×3 cube has more complex mechanics with edge pieces, requiring additional algorithms for edge orientation and permutation. The 2×2 cube is solved using shorter algorithms, while the 3×3 cube involves advanced techniques like CFOP. The 2×2 is ideal for learning basic concepts, while the 3×3 offers more depth for experienced solvers. Understanding these differences helps in choosing the right cube for your skill level and goals.
How to Hold and Manipulate the Cube Effectively
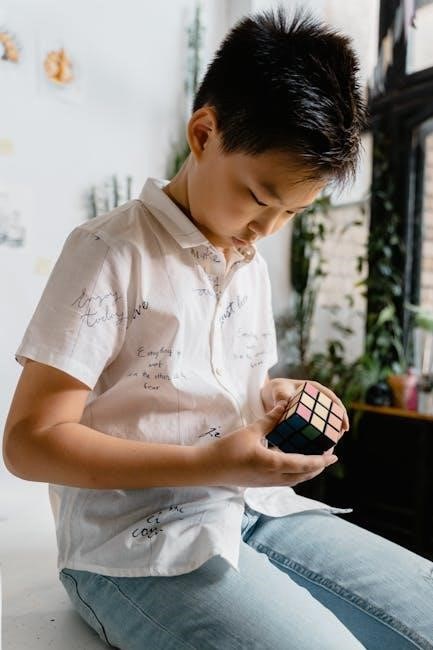
To solve the 2×2 Rubik’s Cube efficiently, proper handling is essential. Hold the cube firmly with one hand, using a “pinch grip” to secure it in place. This grip allows your thumbs to maneuver the cube smoothly. Use your thumb and index finger to twist the faces, ensuring precise control. Maintain the cube’s orientation by keeping the white cross on the top face. Practice smooth, deliberate turns to avoid scrambling the cube further. Effective manipulation involves minimal finger movement and consistent pressure. By mastering this technique, you’ll enhance your solving speed and accuracy, making the process more enjoyable and rewarding. Regular practice will help refine your handling skills, leading to faster and more efficient solves.

A Step-by-Step Guide to Solving the 2×2 Cube
Start by solving the white cross on the top face, then orient the white corners. Use the T-Permute algorithm to align the final layer pieces. Simple and effective!
Solving the First Layer: The White Cross
Begin by holding the cube with the white face on top. Focus on solving one white edge at a time. Use the algorithm Ri, Di, R, D to align the white pieces without disturbing the solved ones. Start with the first white edge, then move to the next, ensuring each white sticker faces upward. Repeat this process for all four edges. Once the white cross is formed, double-check that all white stickers are correctly oriented. If a piece is misplaced, use the same algorithm to correct it. This step is foundational, so take your time to ensure accuracy before moving on. Proper orientation of the white cross sets the stage for solving the rest of the cube efficiently.
Orienting and Solving the White Corners
With the white cross in place, focus on orienting the white corners. Hold the cube with the white face on the bottom. Use the algorithm Ri, Di, R, D to align each corner’s white sticker with the top face. Start with one corner and ensure its white side is on top. Repeat for the remaining corners, checking each for proper orientation. If a corner is misaligned, apply the same algorithm to correct it. Once all white corners are oriented, ensure the bottom layer’s colors are solved. This step requires patience, as improper orientation can disrupt the cube’s structure. Properly oriented corners are crucial for advancing to the final layers. Ensure each corner is aligned before proceeding to the next step.
Introducing the T-Permute Algorithm for the Final Layer
The T-Permute algorithm is a powerful tool for orienting and solving the final layer of the 2×2 Rubik’s Cube. Used when the last two pieces are misoriented, this algorithm ensures proper alignment without disturbing the solved portions of the cube. Executed as R, U, R’, U’, R, U, R’, U’, it effectively permutes the final layer’s pieces while maintaining the integrity of the solved layers. This step is crucial for achieving a fully solved cube and is often used in advanced solving methods. Mastering the T-Permute enhances your solving efficiency and prepares you for more complex algorithms. Practice this permutation to refine your cube-solving skills and tackle challenging configurations with confidence.
Utilizing the Y-Permute Algorithm for Advanced Solving
The Y-Permute algorithm is an advanced technique used to solve the 2×2 Rubik’s Cube when the final two pieces are swapped and misoriented. This algorithm is essential for correcting the orientation of the last layer without disturbing the already solved pieces. Executed as R, U, R’, U’, R, U2, R’, U’, it cycles the final layer’s pieces while maintaining the cube’s structure. The Y-Permute is particularly useful in speedcubing and advanced solving methods, such as CFOP, where efficiency and precision are key. By mastering this algorithm, you can significantly improve your solving speed and accuracy, especially in scenarios where the final layer requires precise orientation and permutation. Practice this technique to enhance your cube-solving skills and tackle complex configurations with ease.

Advanced Strategies for Speed and Efficiency
Master advanced techniques like CFOP and finger tricks to solve the 2×2 cube swiftly. Optimize algorithms, enhance cross and F2L execution, and refine OLL and PLL methods for faster solves.
The CFOP method, a popular speedcubing technique, is adapted for the 2×2 cube to enhance solving efficiency. It involves four main steps: Cross, F2L (First Two Layers), OLL (Orientation of the Last Layer), and PLL (Permutation of the Last Layer). For 2×2 cubes, the Cross step focuses on aligning edges and corners. F2L simplifies pairing pieces while maintaining orientation. OLL ensures all pieces on the final layer are correctly oriented, and PLL permutes them into their correct positions. While traditionally used for 3×3 cubes, CFOP principles can be modified for 2×2 solving, offering advanced solvers a systematic approach to achieve faster times and improve overall performance.
Mastering Cross, F2L, OLL, and PLL Techniques
Mastering the Cross, F2L, OLL, and PLL techniques is essential for efficient 2×2 Rubik’s Cube solving. Begin with the Cross by solving the first layer’s edges and corners simultaneously. F2L involves pairing edges and corners while maintaining the first layer. OLL orients the final layer’s pieces correctly, and PLL permutates them into their correct positions. Practice these steps to improve speed and accuracy. Use online resources for algorithms and video tutorials to enhance your understanding and execution of these techniques.
Optimizing Finger Tricks for Faster Solving
Optimizing finger tricks is crucial for achieving faster solve times on the 2×2 Rubik’s Cube. Start by experimenting with different grips, such as the pinch grip, to find what feels most comfortable and efficient. Improving finger independence and dexterity can enhance your ability to execute moves quickly and smoothly. Practice breaking down complex algorithms into smaller, manageable parts, and gradually increase your speed. Watching video tutorials can provide insights into how experienced solvers optimize their finger movements. Additionally, focus on ergonomics to reduce strain and allow for smoother cube manipulation. By mastering these techniques, you can significantly improve your solving efficiency and overall performance.
Learning to Solve the Cube Blindfolded
Blindfolded solving is an advanced skill that requires strong muscle memory and a deep understanding of the cube’s mechanics. Start by mastering the basics and developing a consistent solving method. Use the Old Pochmann or Yoleo methods, which involve solving the first layer, then the second, and finally orienting the corners. Practice memorizing the cube’s state by relying on touch and algorithms. Begin with short sessions and gradually increase difficulty. Focus on accuracy to avoid corrections. Blindfolded solving demands patience and consistent practice. With dedication, you can achieve this impressive skill and take your cubing abilities to the next level. It’s a challenging but rewarding goal for experienced solvers.

Common Mistakes and Troubleshooting
Common mistakes include misorientation of pieces and incorrect permutations. To fix these, use algorithms like R, D, and L to realign edges and corners. Practice accuracy to avoid errors during solves.
Misorientation of Pieces and How to Correct It
Misorientation of pieces is a common issue when solving the 2×2 Rubik’s Cube. This occurs when a piece is in the correct position but facing the wrong direction. To correct this, use specific algorithms such as R, D, or L to realign the pieces without scrambling the rest of the cube. For example, if a corner is misoriented, perform a simple turning sequence to adjust its orientation. Always focus on one piece at a time to avoid complicating the solve. Practice on a partially solved cube to build muscle memory and improve accuracy. Patience and consistent practice are key to mastering this skill and ensuring smooth solves.
Understanding and Fixing Incorrect Permutations
Incorrect permutations on a 2×2 Rubik’s Cube occur when pieces are in the wrong positions relative to each other, despite appearing solved. To address this, begin by identifying the swapped or misarranged pieces. Use specific algorithms designed for the 2×2 cube to correct these permutations without disrupting the rest of the cube. For example, simple move sequences can swap corners back to their correct positions. Be mindful of parity issues, which can arise from certain permutations on even-layered cubes; Practice basic solving techniques and apply correction algorithms carefully to maintain the cube’s integrity. Preventing incorrect permutations involves precise execution of moves and understanding the cube’s mechanics. Regular practice with example cubes will enhance your ability to fix these issues effectively.
Avoiding Common Algorithm Errors
To master the 2×2 Rubik’s Cube, it’s crucial to avoid common algorithm errors that can disrupt your progress. Always ensure you understand the move notations before executing any algorithm. Practice basic moves slowly and accurately to build finger independence. A frequent mistake is rushing through algorithms, which can lead to piece misorientation. To avoid this, break down complex algorithms into smaller, manageable parts and practice them step-by-step. Additionally, avoid applying the wrong algorithm for a specific scenario, as this can create unsolvable permutations. Use online resources or guides to verify the correct algorithms for each situation. Regular practice and patience will help you identify and correct these errors, improving your overall solving efficiency and reducing frustration.

Resources and Further Reading
Explore recommended websites for additional learning, such as official Rubik’s Cube guides and community forums. Video tutorials on platforms like YouTube offer visual step-by-step instructions. Practice exercises and downloadable PDF guides can enhance your learning experience. Check out resources like Speedcubing.com for advanced techniques and Speedsolving.com for community support. Utilize tools like cube timers to track your progress and improve solving speed. For custom designs, try creating your own cube art using online templates or design software.
Recommended Websites for Additional Learning
For further learning, visit Speedcubing.com and Speedsolving.com, which offer detailed guides, algorithms, and community support. YouTube channels like Cubing Tutorial and JPerm provide excellent video tutorials. Reddit’s r/learnrubiks is a great community for tips and advice. Additionally, cubeSkills offers interactive lessons and practice exercises. Explore these resources to deepen your understanding and improve your solving skills. Many websites also provide downloadable PDF guides for offline learning. Utilize these tools to enhance your journey from beginner to advanced solver. Remember, consistent practice and exploring various methods will help you master the 2×2 Rubik’s Cube efficiently.
Video Tutorials for Visual Learners
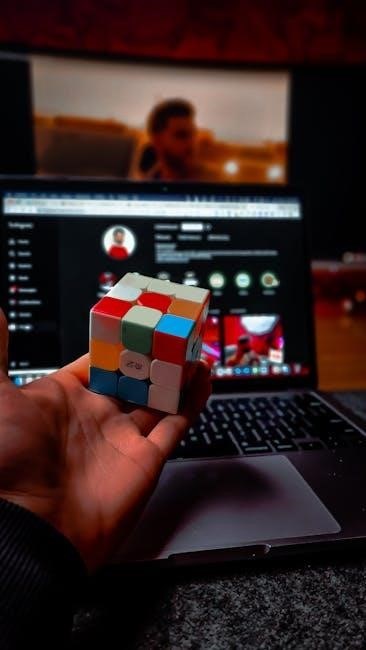
Visual learners can greatly benefit from video tutorials available on platforms like YouTube and Speedcubing.com. Channels such as JPerm and Cubing Tutorial offer step-by-step guides for solving the 2×2 cube. These videos demonstrate essential algorithms, including the T-Permute and Y-Permute, in a clear and engaging manner. Many tutorials also cover advanced techniques like CFOP for speedcubing. Watching experienced solvers can help you understand finger tricks and improve your efficiency. Start with beginner-friendly videos and progress to more advanced content as you gain confidence. These resources are perfect for those who prefer visual instruction over written guides, making the learning process more intuitive and enjoyable.
Practice Exercises to Improve Solving Speed
Regular practice is key to improving your 2×2 Rubik’s Cube solving speed. Start by mastering fundamental algorithms like the T-Permute and Y-Permute, which are crucial for efficiently solving the final layer. Practice timed scrambles to build muscle memory and focus on solving the cube in fewer moves. Begin with slow, deliberate movements and gradually increase your speed as you gain confidence. Incorporate finger tricks to optimize your turning efficiency. Set aside time daily to solve the cube multiple times, tracking your progress with a timer or app. As you advance, explore advanced techniques like CFOP and F2L to refine your skills. Consistent practice will help you achieve faster solve times and enhance your overall cubing proficiency.
How to Create a Custom 2×2 Rubik’s Cube Design
Creating a custom 2×2 Rubik’s Cube design is a fun way to personalize your puzzle. Start by designing your stickers using graphic design software like Photoshop or Canva. Choose a theme, such as a Minecraft design or a custom pattern, and ensure each face aligns with the cube’s structure. Print your designs on sticker paper and carefully apply them to the cube’s surfaces. For a more advanced look, use a blank 2×2 cube as a base. You can also paint or draw directly on the cube for a unique, handmade appearance. This project allows you to express your creativity while maintaining the cube’s functionality. Experiment with different designs to create a one-of-a-kind Rubik’s Cube that reflects your personality or interests!
Congratulations on completing the 2×2 Rubik’s Cube solution guide! Mastering the cube is a rewarding journey that boosts problem-solving skills and hand-eye coordination. Keep practicing to improve speed and accuracy, and don’t hesitate to explore advanced techniques or share your progress with others. Embrace the challenge and enjoy the satisfaction of solving this iconic puzzle!
Motivation to Keep Practicing and Improving
Mastering the 2×2 Rubik’s Cube is a rewarding journey that builds persistence and problem-solving skills. Celebrate small victories, like solving a layer or mastering a new algorithm, to stay motivated. Every twist brings you closer to expertise. Embrace challenges and view mistakes as learning opportunities. As you progress, you’ll gain confidence and unlock advanced techniques like CFOP and finger tricks. Set goals, such as solving the cube blindfolded or improving your speed, to keep the process engaging. Remember, cubing is not just about speed or efficiency—it’s about the joy of solving and the satisfaction of overcoming complexity. Keep pushing forward and enjoy the journey to becoming a 2×2 master!